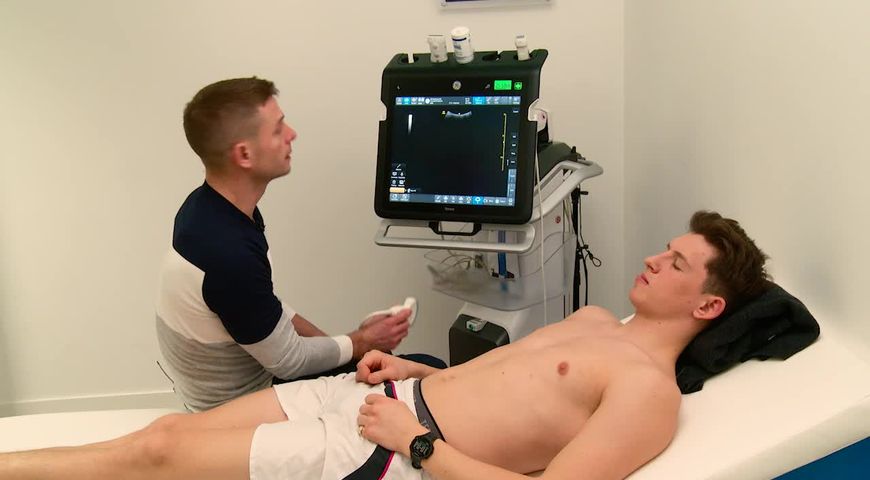
The view from the upper anterior point is obtained in the second intercostal space, mid clavicular line, while the lower anterior point is just above the outside edge of the nipple in a man. After centering the pleura in the middle of our picture it takes only a few moments to look for lung sliding. With a few adjustments to the device settings – reducing depth, decreasing gain and choosing a high frequency – we should see movement of the pleural line with respiration. This immediately rules out a pneumothorax at this point. Once lung sliding is confirmed we can increase our depth to look for A lines or B lines. A lines signify air beneath the pleura. B lines usually mean the lung is wet and also rule out a pneumothorax. Ensuring that the probe is placed perpendicularly to the chest wall, and not the bed, will optimize our image. A key point here is that A lines will only be seen if you are perpendicular.
The probe
The curvilinear probe is the best “all-rounder” for lung ultrasound. A phased array probe can be used but provides less clarity. Linear probes are good for the anterior chest or in young children. A three point examination of each hemithorax allows a thorough and fast assessment.
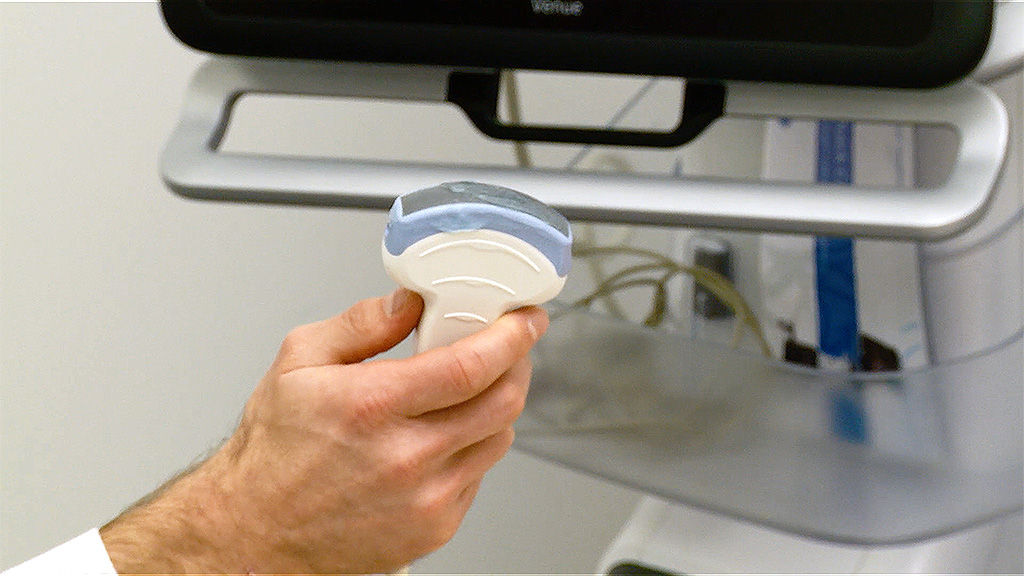
The curvilinear probe is ideal for lung ultrasound
The anterior points
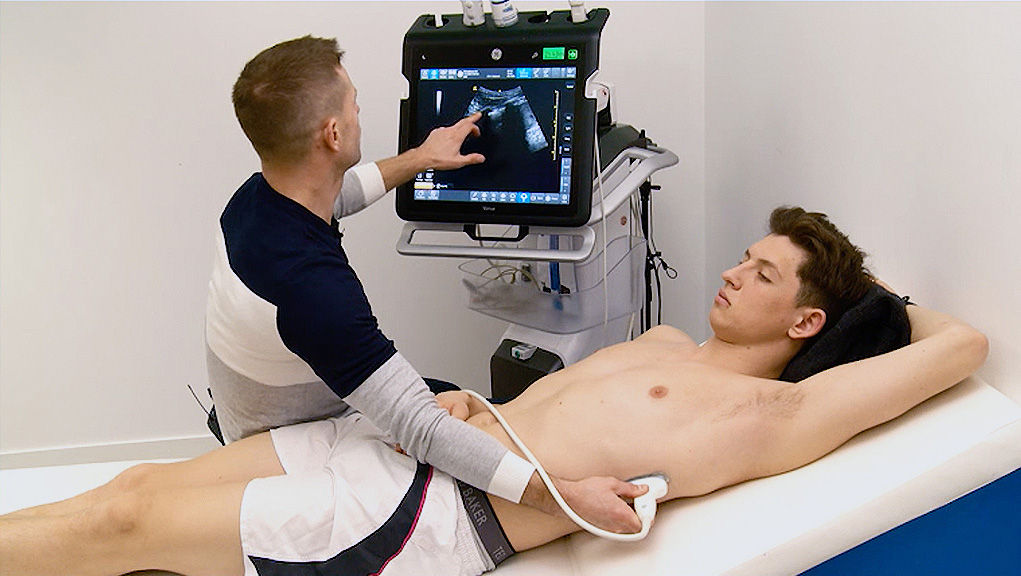
The probe positioned at the upper anterior point
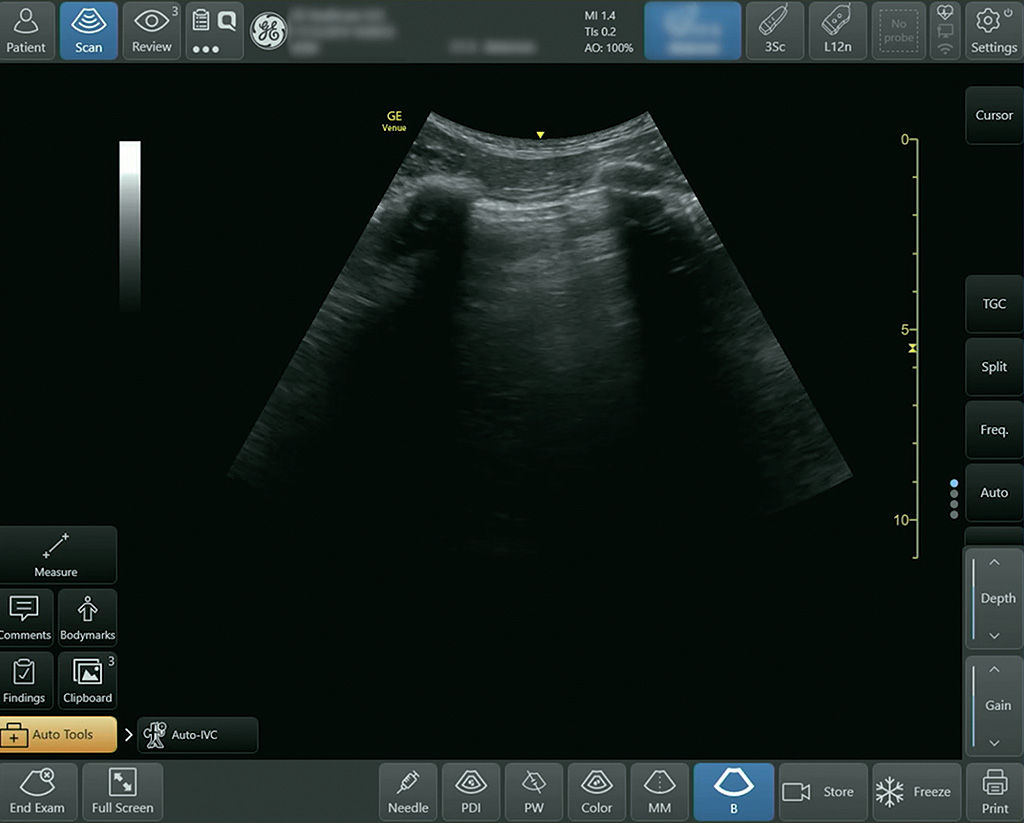
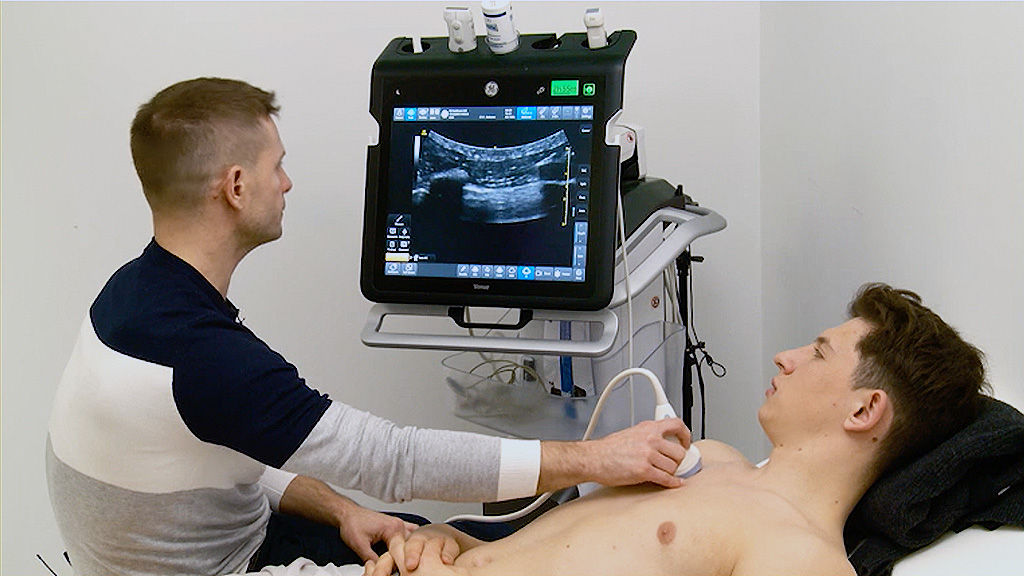
A deep view at the lower anterior point with the pleura centered in the image
The postero-lateral point
Positioning the probe at the postero-lateral point
The third examination point is easy to find: Go from the lower anterior point and then as far laterally and posteriorly as possible before moving a couple of rib spaces down. As at the anterior points, the probe should be aligned in cephalad/caudad direction, but the rib shadows can be eliminated with a slight rotation of the probe, aligning it with the intercostal space. Depth should be increased to around 12 cm to allow you to see the diaphragm and the top of the liver (or spleen) – some of which will be obscured by air in the costophrenic angle unless there is pathology present which allows transmission of the sound waves. The lung base should take up most of the screen.
The high frequency probe for better resolution
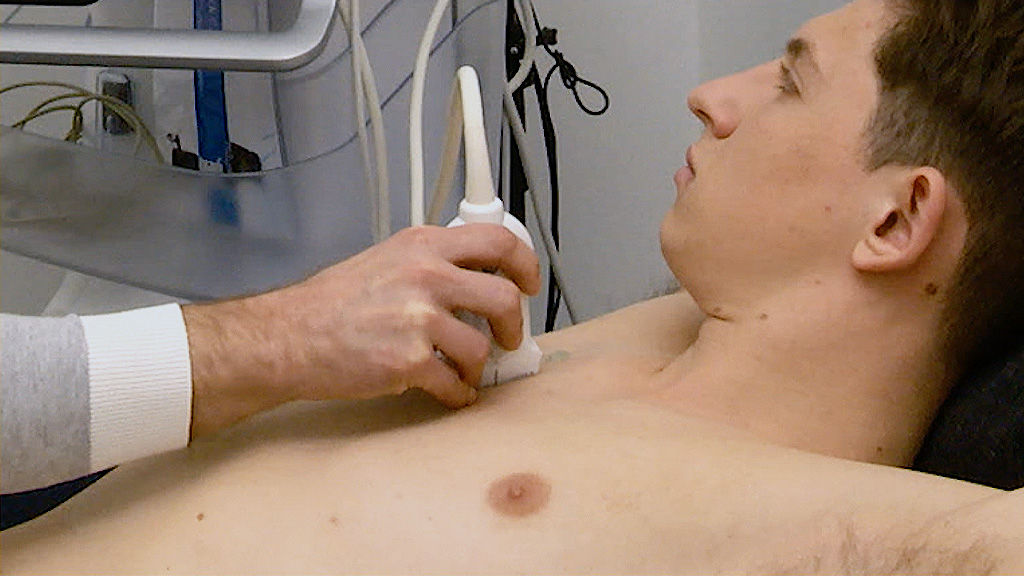
The high frequency linear probe provides the best resolution of the pleural line
It can sometimes be difficult to decide if there is lung sliding or not, particularly in a ventilated patient with low tidal volumes. Using the high frequency linear probe will give better resolution of lung sliding. It is placed at the anterior points and the image optimized just as is done with the curvilinear probe.
Watch the whole course in the POCUShub members area:
How to assess the lungs